Adding Permanent Fixtures (Doors, Windows, Columns, etc.)
After your floor plan his been designed, the next step is to indicate where permanent fixtures such as doors, windows, vertical structural columns, etc. are located in your floor plan. Once added, these fixtures will not be moveable in any layout (since they are permanent fixtures of the space). However, if a space if ever remodeled or otherwise changed, you can always make changes to these fixtures using the steps below.
- Scale and trace your exterior and interior walls as described in Creating Your Floor Plan.
- Click/tap the Swith to 3D button
 in the sidebar on the left of the screen.
Note: Fixtures are available only in 3D mode. - Click/tap the Edit button
 at the top left of the screen to enter edit mode.
 - Click/tap the View button
 located at the bottom left of the screen and click/tap the Floorplan Image button
  to view the floorplan through the floor of your drawn space.
Note: If no floorplan image exists this button will be disabled.
- Locate the area of the diagram where the fixtures need to be placed.
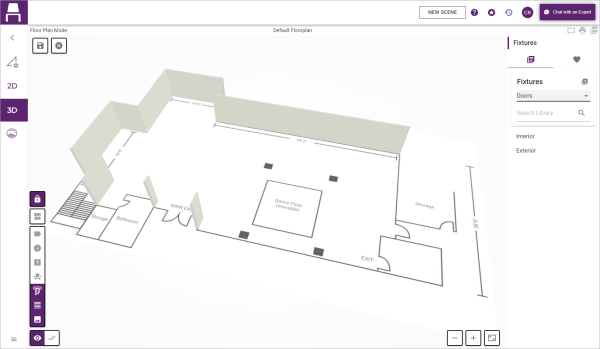
- In the Fixtures panel along the right side of the screen, verify that the Fixtureslibrary is selected.
Note: If a different library is selected, click/tap the "plus" sign to the right of the library name and select the Fixtures library. - Under the Fixtures library title on the right side of the screen, click/tap the down arrow and choose the specific category of fixtures ("Doors", "Windows", "Columns", etc.) you want to add.
- With the desired category selected, click/tap in the middle of the Fixtures panel along the left side of the screen and select the appropriate sub-category.
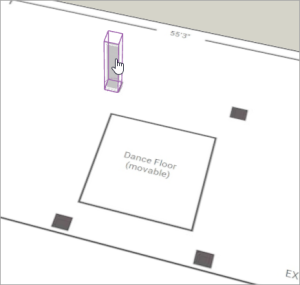
Note: As an option, click/tap in the "Search Library" field underneath the category selection and type an object's name. - Locate the desired fixture in the Fixtures panel on the right side of the screen and drag it and drop it into position on your floor plan.
Note: After initially dropping the fixture you might need to drag it or nudge with your arrow keys to position it correctly, or rotate it by dragging the purple arrow that surrounds it.
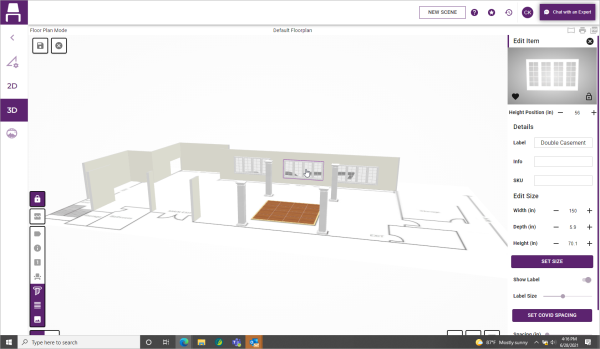
- [Optional] After placing the fixture, edit its details such as label name as it appears onscreen and on print as well as fixture size (width, depth and height).
Note: After editing size dimensions, click/tap Set Size to apply changes.
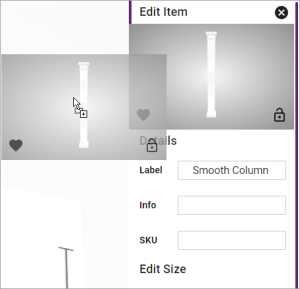
- [Optional] With the original fixture selected, drag the image from the Fixture Edit Item panel on the right side of the screen to drop another identical fixture in the space.

- Click/tap outside of the floor plan drawing to deselect the fixture, and repeat steps 7-11 to place other fixtures in the space.
Note: As an alternative to clicking outside the drawing, after placing the fixture you can also click the "x" at the top right of the Fixtures panel on the right side of the screen to deselect.
- Click/tap the Floorplan Image button again as you did in Step 4 above to remove the floorplan image.
- See Selecting Paint and Flooring Options for information about applying colors or textures to the walls and floor of the space.
- When finished, click/tap the Save button
 , located at the upper left-hand corner of your screen to save your changes.
See Also: